
Are you interested in working with Contract Management in Cerivo? Contact your CSM to learn more.
In this article, we guide you through the contract creation process in Cerivo step by step:
Have a look at the Contract Management in Cerivo article for more information about what is the new Contract module all about and what value does it bring to your organization.
Create a contract
In order to create a new contract in your Cerivo platform, navigate to System & Vendor Management → Contracts. Then, click the orange + icon in the top right corner of the page. Name your contract by giving it a Title.

Then, click Create to create the new contract.
Overview
The contract you created will then open on the Overview tab. On the top of the page, you can see the contract name that you can change by clicking the name field.

Here, you also see fields for the four contract dates: Start date, Expiration date, Renewal date and Committed date, and Description. Add a description by clicking the Comment field to type the text and then click Save. Add all or any of the dates by clicking the date fields and selecting the date from the date picker.

Setting the Expiration, Renewal and Committed dates will trigger email notifications that are sent to the Responsible and Assignee of the contract seven days before the deadline.
General information
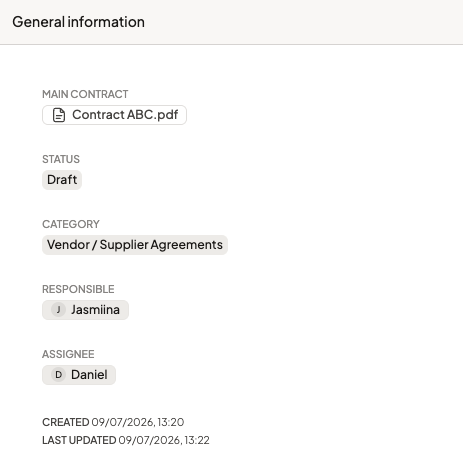
The right side shows the General information, where you can see:
-
Main contract
-
Status
-
Category
-
Responsible
-
Assignee
At the bottom, there's also the date when the contract was created and last updated.
Main contract
At the top, you can click to Add attachment to add the Main contract document by following the same upload flow as in Attachments.
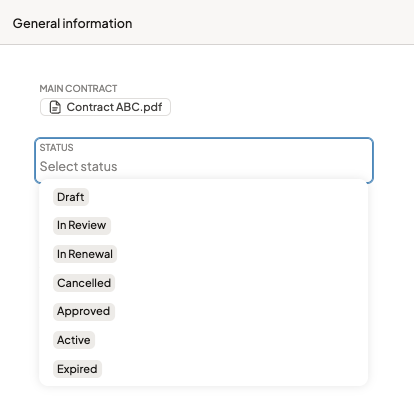
Status
The Status of the contract refers to whether the contract is in draft, in review, active, expired, approved, etc. The below list is a default list of statuses that you can choose from.
If you want to customize the status list, navigate back to the Contracts table view, and click the three dots on top right of the page next to the Add new contract button. Choose Settings, and on the Status tab, you can reorder or edit the current list by clicking the status and reordering them with the arrows or editing the name and/or description on the right side. You can also create new statuses by clicking Create status.

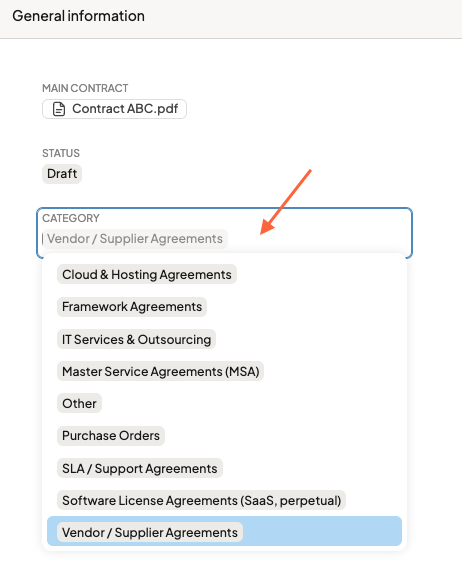
Category
The category refers to what contract category the contract belongs to.
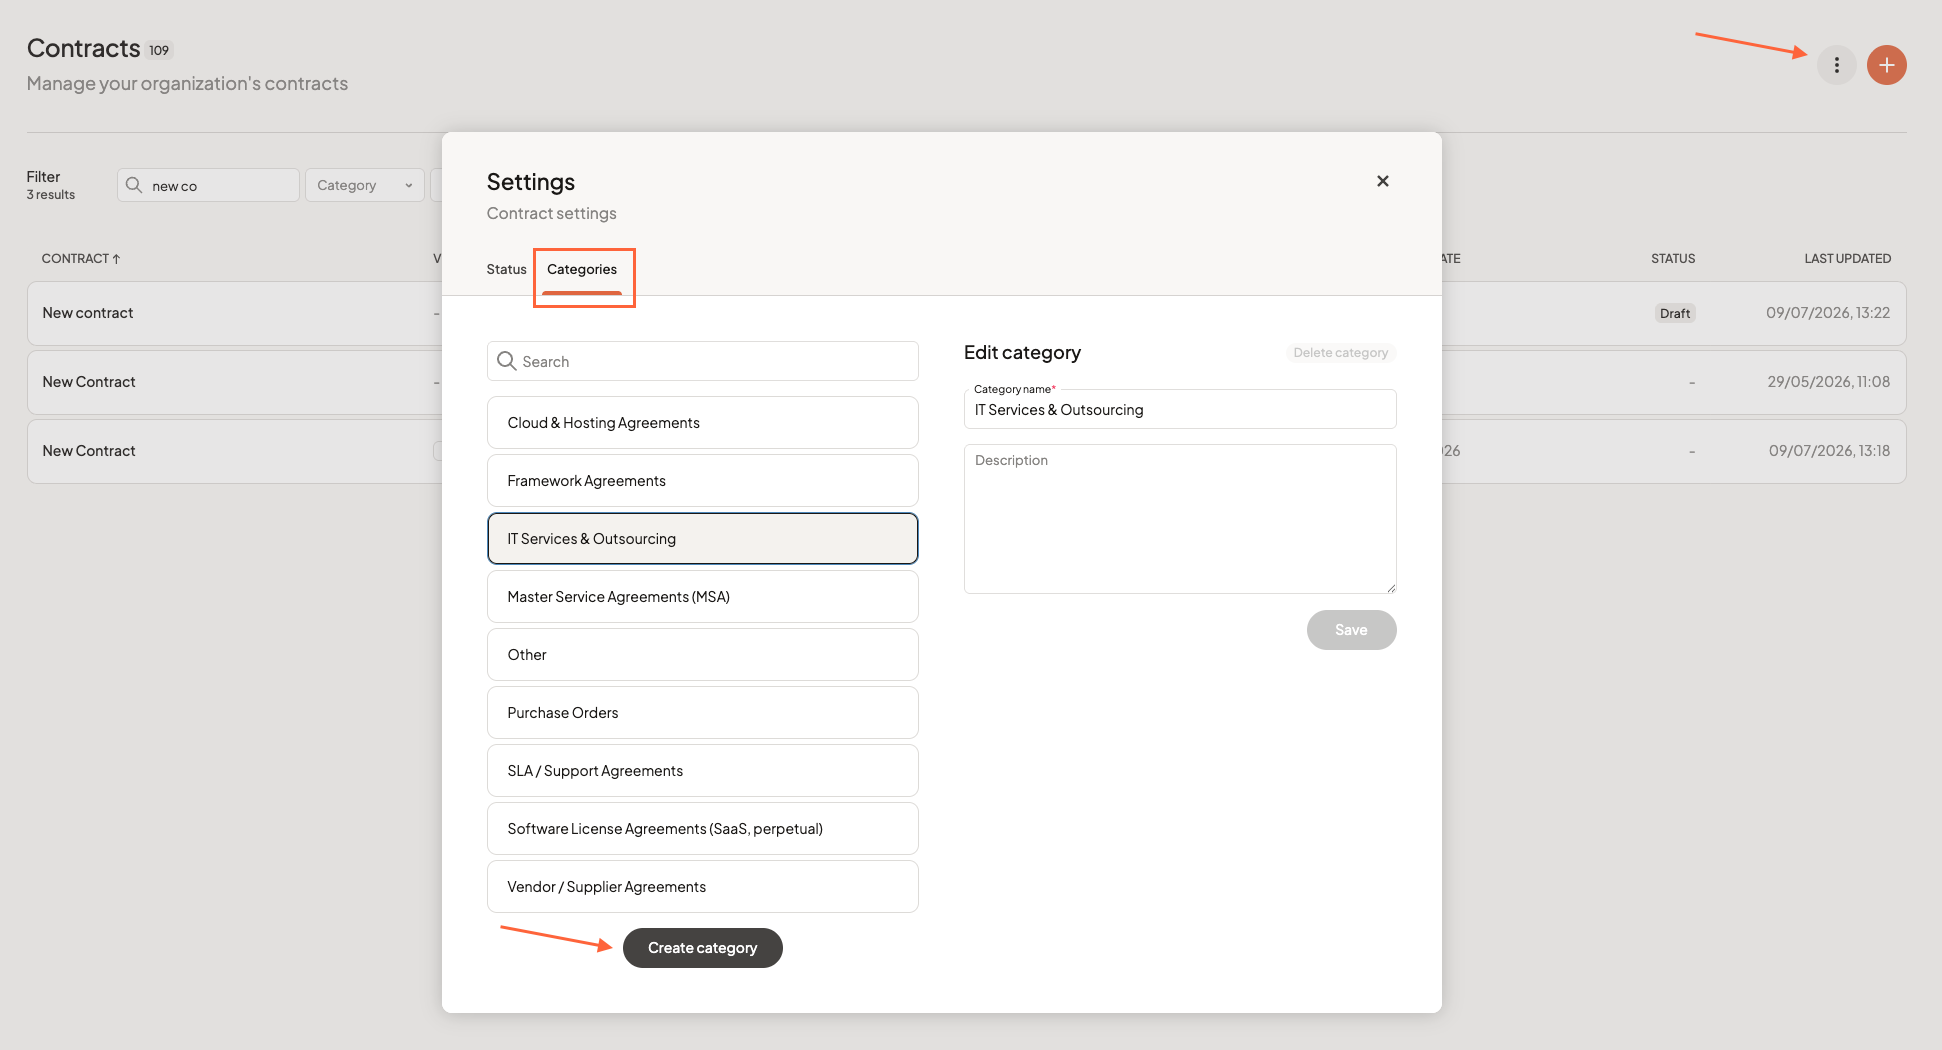
Similarly as Status, you can edit and add categories from the Settings menu.
Navigate back to the Contracts table view, and click the three dots on top right of the page next to the Add new contract button. Choose Settings, and on the Categories tab, you can edit the current list by clicking the category and editing the name and/or description on the right side. You can also create new statuses by clicking Create category.
Responsible & Assignee
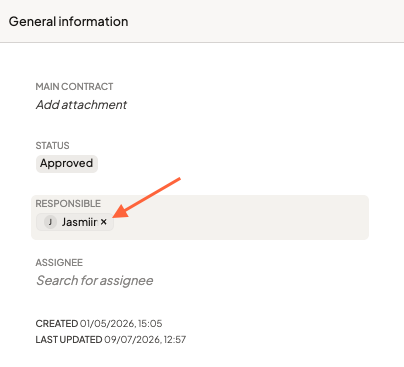
The Responsible will automatically be the user that created the contract, but you can change it by hovering over the user and clicking the little x icon that appears, and choosing another one from the list. When empty, the fields will say Search for responsible and Search for assignee to add the user who is the correct Responsible or Assignee to the contract.
Three dot menu
On the top right corner, the three dot menu has options to Edit contract identifier, View history and Delete contract.
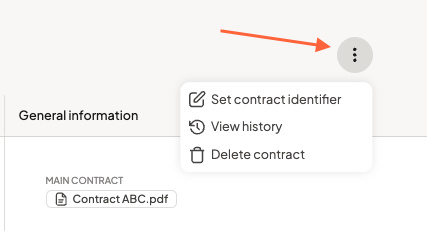
The contract identifier is a unique identifier for the contract that can consist of numbers and letters. Add an identifier and it will be displayed on top of the contract title.

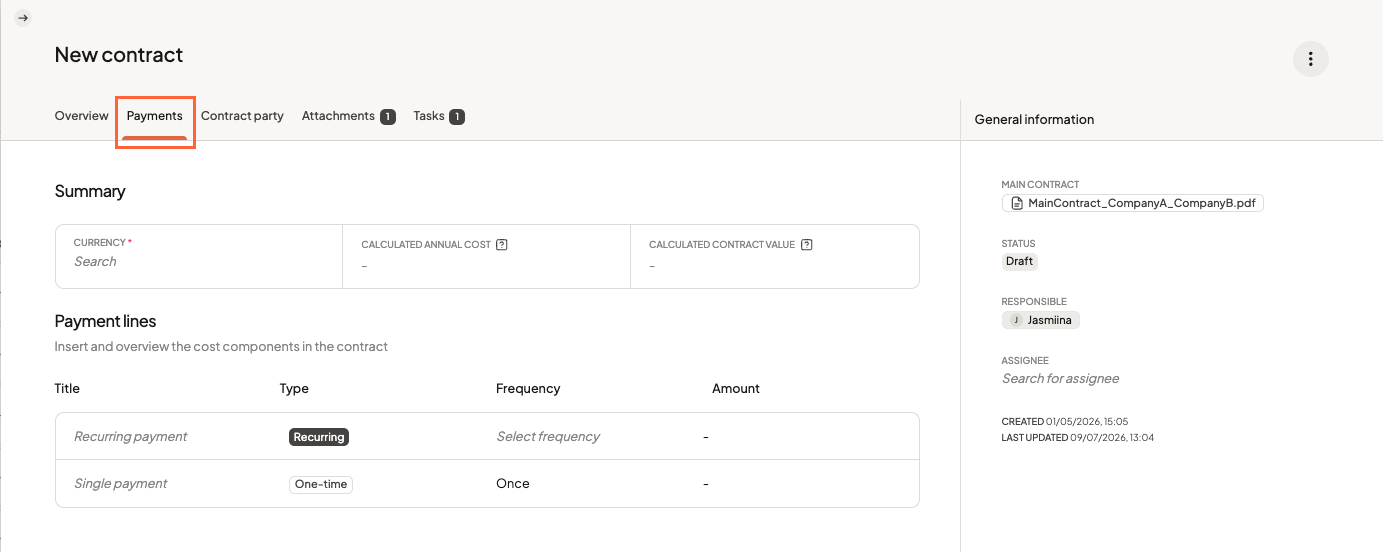
Payments
On the Payments tab, you can add all payments and financial data related to the contract.
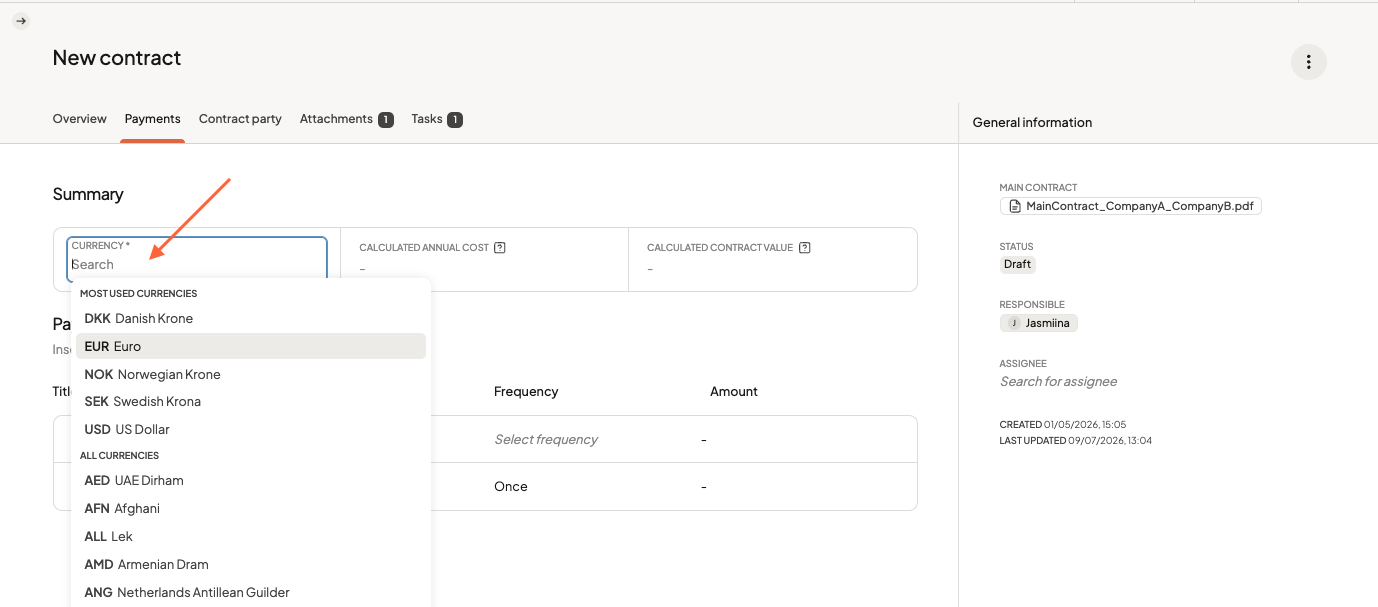
Start by defining the currency in which the payments are in the contract. Click in the Currency field and choose from the dropdown list. The first five are the currencies that we have established as most common currencies for our customers (Danish Krone, Euro, Norwegian Krone, Swedish Krone, and US Dollar), but you can choose from any currency in alphabetical order below the first five.
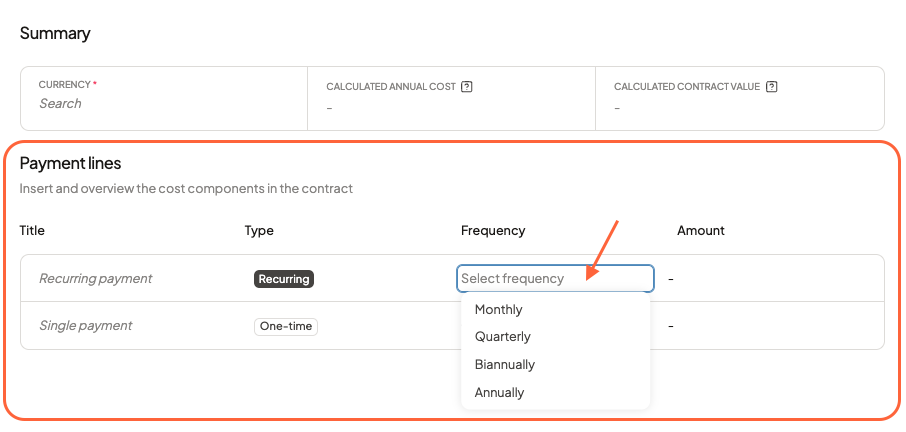
Then, you can fill out the Payment lines.
Here, we have a placeholder for the Recurring payment, which will be the amount you pay for the contract on a recurring basis, and Single payment that can be any one-time payment that is included in your contract, such as a fee for onboarding. You can rename the payment lines by clicking the title and renaming it, for example Monthly contract payments and Onboarding.
You can change the Frequency of the recurring payment by clicking the field and selecting one of the four options:
- Monthly - if the contract is paid on a monthly basis
- Quarterly - if the contract is paid quarterly, i.e. four times a year
- Biannually - if the contract is paid biannually, i.e. twice a year
- Annually - if the contract is paid annually, i.e. once a year
When you edit the Amount of the payment, the selected currency will automatically be added to the amounts.
In the below example, all fields have been filled and the contract has a start and end date so the system can calculate the contract value:
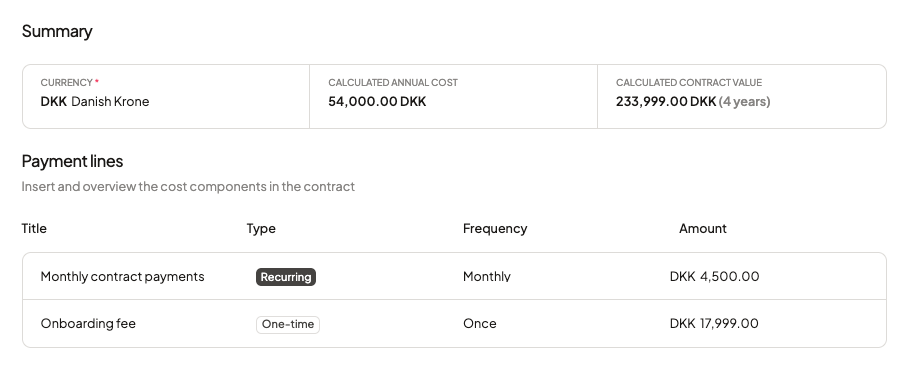
The Calculated annual cost will reflect the recurring payments per one year - for example above, the monthly contract payment is DKK 4500,00, so the annual cost is:
DKK 4500,00 x 12 = DKK 54.000,00
The Calculated contract value is populated in case you have filled both the start and end date on the contract overview - as it calculates the contract payments throughout the contract lifecycle. In the example above, the contract duration is 4 years, so the calculated sum is the monthly payments in four years and the one-time payment for onboarding once:
(DKK 4500,00 x 12 =) DKK 54.000,00 x 4 + DKK 17.999,00 = DKK 233.999.00
Contract parties
The next tab is the Contract party tab. Here, you can add the internal and external contract parties for the new contract by clicking the + Add internal / external contract party buttons.

When adding an internal contract party, you can choose the right party from your companies list, and when adding an external contract party, you choose from your list of vendors, for example here Microsoft. Then, click Add.

You can add multiple contract parties by clicking the + Add internal / external contract party button again. To remove a contract party, click the three dot menu that appears when hovering over the party, and click Remove. You will be asked to confirm that you are sure you want to remove the company or vendor from the contract.

Attachments
You can see and add more contract documents and other attachments in the Attachments tab by clicking + Add attachment.

You can upload new files, link to URL that is relevant for the contract, or choose from existing files on your Cerivo platform. Fill in the information (mandatory fields are marked with a red asterisk *) and click Add file / Add link / Select file(s) depending on which tab you are on.

You can click on the name of the attachment and it opens on a right side panel. Here, you can preview the document and download, edit or delete it and see version history, or if it's a link, see the link, go to the linked page, edit or delete it. Move back to the contract page by clicking the arrow on the top left.
To remove attachments, hover over the attachment and the three dot menu appears. Select Remove attachment and confirm.

Tasks
As in other places in Cerivo, you can also add tasks connected to the contract. On the Tasks tab, click + Create task to add tasks to the contract.

Add a title and due date and other details to the task and click Create. When added, you see the number of tasks appear next to the Tasks tab. You can click on the task to see and edit the details open on the right side panel. Move back to the contract page by clicking the arrow on the top left.

Any questions? Contact us at support@cerivo.com!